Dishtowel Aprons {Tutorial}


While I'm busy cleaning out my closet, I'll share with you a tutorial on these fun dishtowel aprons we made at "Mommy Camp". It's funny how we can't seem to find a single moment to take out the sewing machine at home. It takes a visit to Grandma's House to learn these sometimes forgotten skills! This project was easy and satisfying - perfect for beginners. The girls loved the results!

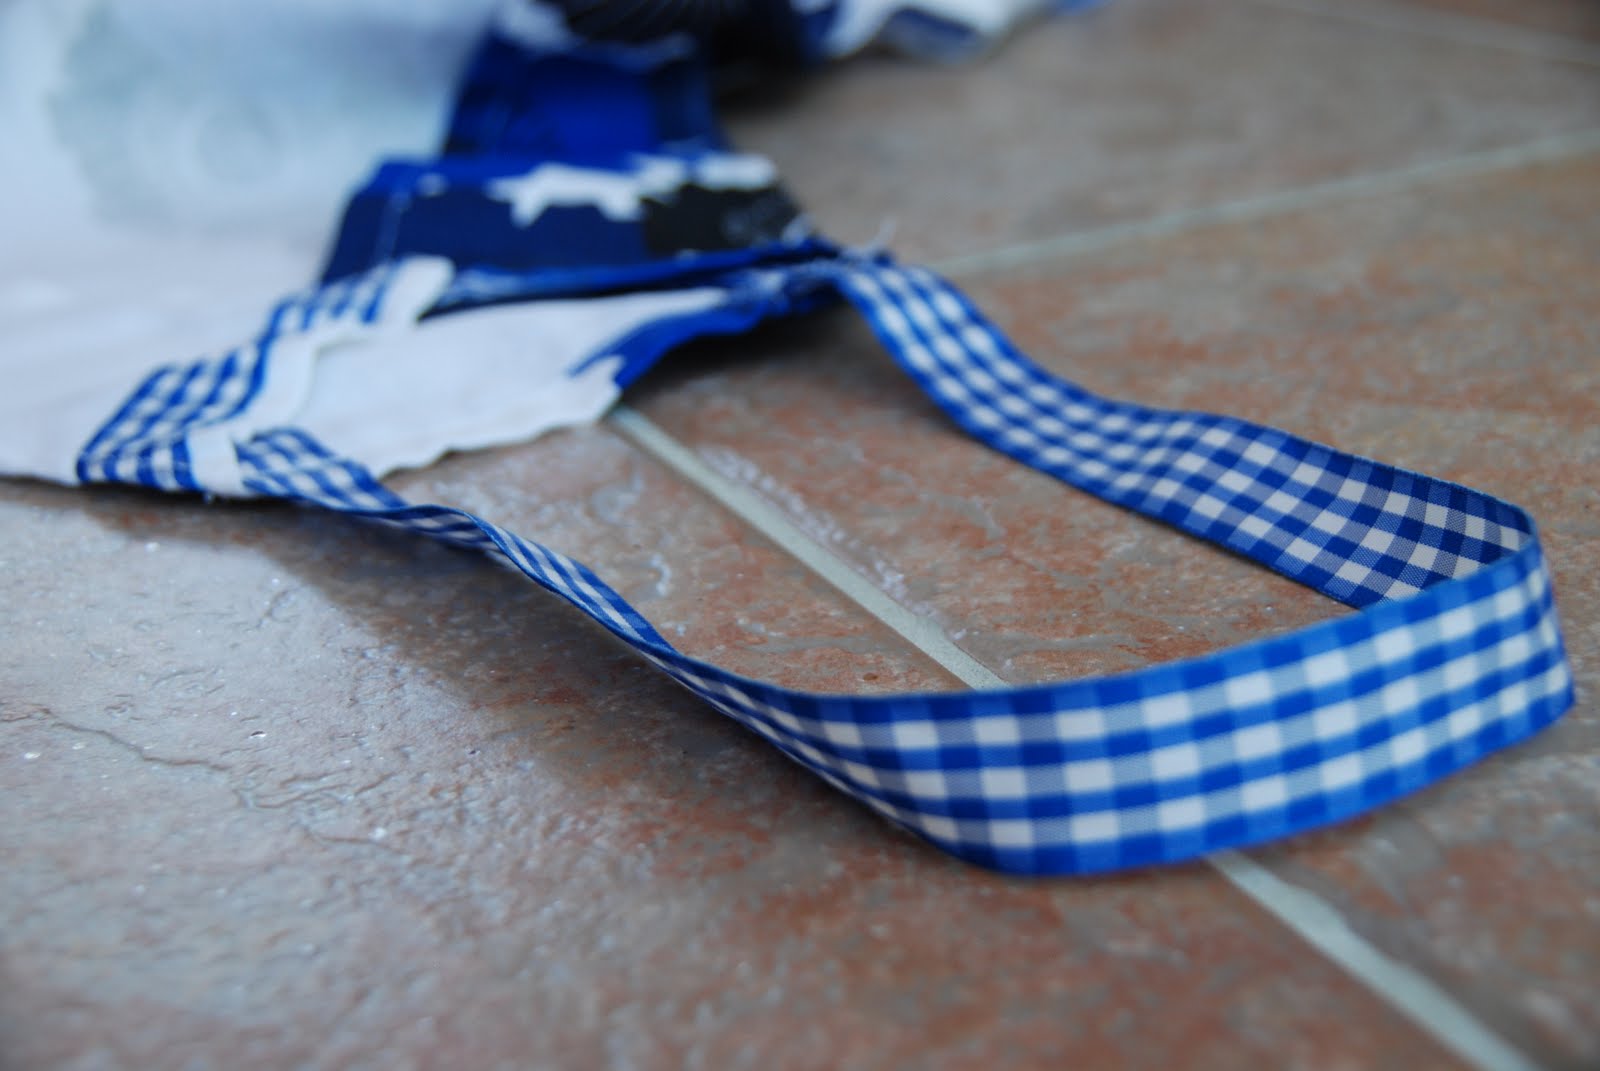
Start by selecting two dishtowels and one or two spools of ribbon.
Three to five yards of ribbon should be plenty.

Decide how far down the towel you want the "waist" to be.
Fold the long side of the towels in on each side to create the apron top. Press.

(Optional) Next, unfold and sew your decorative ribbon across the entire top (the short side of the towel.) For the girls, I sewed the first side of the ribbon and they sewed the second side. For six year-old Ella, I ran the fabric through the sewing machine and let her learn to operate and control the foot petal.

- Sew the decorative ribbon to the long side of the second towel.
- Leave enough ribbon on each end to allow for tying.
- Don't sew the towels together yet, but notice how the top towel is vertical and the bottom towel is horizontal.
- Sew the side seams of the top.
- Feel free to trim the sides and fold them under, or just leave the flaps like I did.

You don't need a fancy sewing machine to make an apron.
This circa 1960 Singer still works just fine!

Excuse me while I continue this tutorial on Anna's apron.
Here's the only tricky part: The top and bottom are sewn together by making two pockets.
- Sew three vertical seams. One should be in the center and the other two should be near the sides of the vertical towel.
- Start at the "waist" and sew down the apron about 10 inches.
- Connect the vertical seams with a horizontal seam about 10 inches below the waist. This forms the bottom of the pockets.

Here's another view.
Measure a ribbon for the neck and sew into place.
Ta-Da! You are finished!
Ella's Apron was even easier. We used just one dishtowel, sewed the top sides at an angle, added ribbon to the waist with enough length for ties, added ties at the neck neck and decorated the hem (purely optional.)
We're ready for baking!
THIS POST IS PROUDLY LINKED TO MONDAYS: MOUTHWATERING MONDAYS, MADE BY YOU MONDAY,MINGLE MONDAY , HOME SAVVY A TO Z, TUESDAYS: TUESDAYS AND THE TABLE, TEMPT MY TUMMY TUESDAY, TASTY TUESDAY, IT’S A BLOG PARTY, DELICIOUS DISHES, TIP JUNKIE ,GET YOUR CRAFT ON, WEDNESDAYS: SHOW AND TELL, WORKS FOR ME WEDNESDAY, THIS CHICK COOKS, LADY BEHIND THE CURTAIN, GINGER SNAP CRAFTS THURSDAYS: IT’S A KEEPER THURSDAYS, STRUT YOUR STUFF, FULL PLATE THURSDAYS THRILLING THURSDAY, CHIC & CRAFTY PARTY, RECIPES TO RUN ON. THRIFTY THURSDAYS FRIDAYS: I’M LOVING IT, FOODIE FRIDAY, GROCERY CART CHALLENGE, FOOD ON FRIDAYS, FRIDAY POT LUCK,, WALNUT AVENUE: FOODIE FRIDAY, TATERTOTS AND JELLO, , SWEET TOOTH FRIDAY,, FRIDAY FAVORITES, FAT CAMP FRIDAY, LA BELLA VITA, FRIDAY FOOD SATURDAYS:SWEETS FOR A SATURDAY SIX SISTERS STUFF SUNDAYS: NIFTY THRIFTY SUNDAY, AWELL SEASONED LIFE


Comments